
In today’s fast-paced digital world, having a website with slow-loading pages can be detrimental to your online success.
Here we will see how to install and set up the W3 Total Cache plugin to improve website performance.
Users expect websites to load quickly, and search engines favor fast-loading pages.
This is where caching plugins come in handy.
W3 Total Cache is one of the most popular caching plugins available for WordPress users.
In this article, we will guide you through the process of installing and setting up the W3 Total Cache plugin for beginners, helping you speed up your website and improve user experience.
Whether you’re a beginner or an experienced website owner, this article will provide you with step-by-step instructions to optimize your website’s performance with W3 Total Cache.
Why to W3 Total Cache Plugin
W3 Total Cache is a powerful caching plugin that can significantly improve the performance of your WordPress website.
Here are some reasons why you should consider using W3 Total Cache:
- Faster Website Speed – W3 Total Cache can cache your website’s pages and reduce the load time, resulting in a faster and more responsive website.
- Improved User Experience – With faster loading of pages, your visitors will have a better user experience and will be more likely to stay on your website for longer.
- Higher Search Engine Rankings – Search engines like Google favor fast-loading websites, and a caching plugin like W3 Total Cache can improve your website’s search engine rankings.
- Better Server Performance – By caching your website’s pages, W3 Total Cache reduces the load on your server, leading to better overall performance and reduced server resource usage.
- Easy to Use – W3 Total Cache is a beginner-friendly plugin that comes with easy-to-use settings and configuration options.
You don’t need technical knowledge to start with W3 Total Cache.
These are some of the features of the W3 Total Cache plugin. Which makes it a unique and useful plugin.
How Cache Works on Website
Caching is a process of temporarily storing frequently accessed data in a faster and more accessible location for quicker retrieval.
In the context of a website, caching works by storing certain parts of the website’s content in the user’s browser or on the server, allowing subsequent page views to be loaded more quickly.
When a user visits a website for the first time, their browser downloads all the necessary resources such as HTML, CSS, JavaScript, and images from the server.
This process can take some time, depending on the size and complexity of the website.
However, on subsequent visits, the browser can access the cached resources, which are stored locally, without having to download them again from the server.
This results in a much faster and smoother experience for the user.
There are different types of caching that can be used on a website, such as browser caching, server-side caching, and content delivery network (CDN) caching.
Browser caching involves storing static resources like images and CSS files in the user’s browser cache.
Server-side caching involves storing dynamic content like database queries and API calls in the server’s memory.
CDN caching involves storing content on multiple servers across the world to reduce latency and improve website speed for visitors from different regions.
By using caching techniques, website owners can provide a better user experience, improve search engine rankings, and reduce server resource usage.
Installing and Setting Up W3 Total Cache on Website
After understanding how the cache works in the website and how it improves the overall SEO.
So install the W3 Total Cache plugin to your WordPress website. First, log in to your WordPress website and follow the below steps.
for installing the plugin to your website go to Plugins > Add New. Search for the W3 Total Cache. Click on the “Install Now” button to install and then click on the “Activate” button to activate the plugin.

Now the W3 Total Cache will start appearing on the WordPress dashboard with the tab name “Performance”.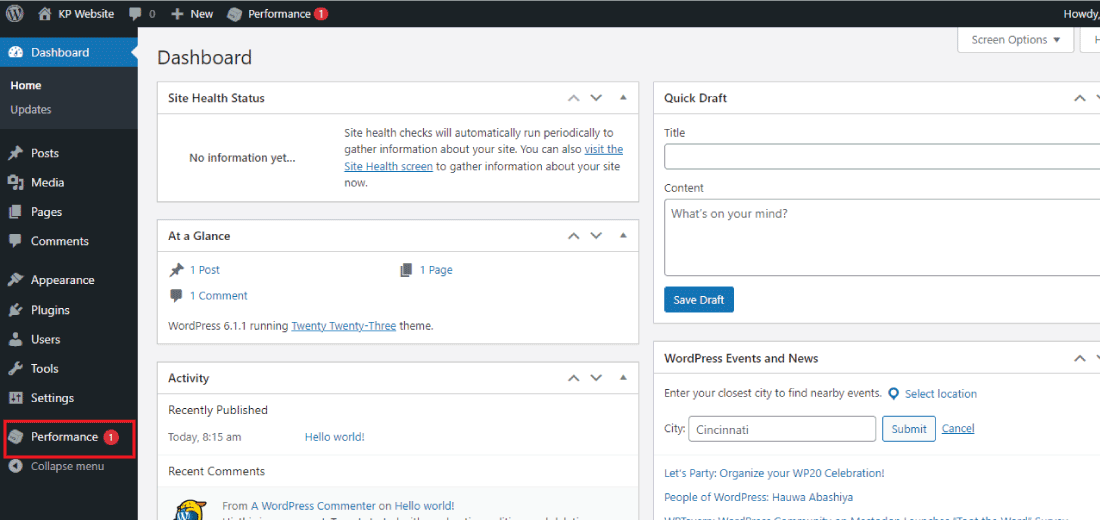
This is how you can easily install W3 Total Cache on your WordPress website.
Now, let’s see how we can set up the W3 Total Cache in the WordPress website.
Setting Up the W3 Total Cache Plugin
Now, after the complete installation of the W3 plugin to your WordPress website.
It’s time to configure the W3 Total Cache plugin to your WordPress website.
Follow the below steps to configure the settings of the W3 cache plugin.
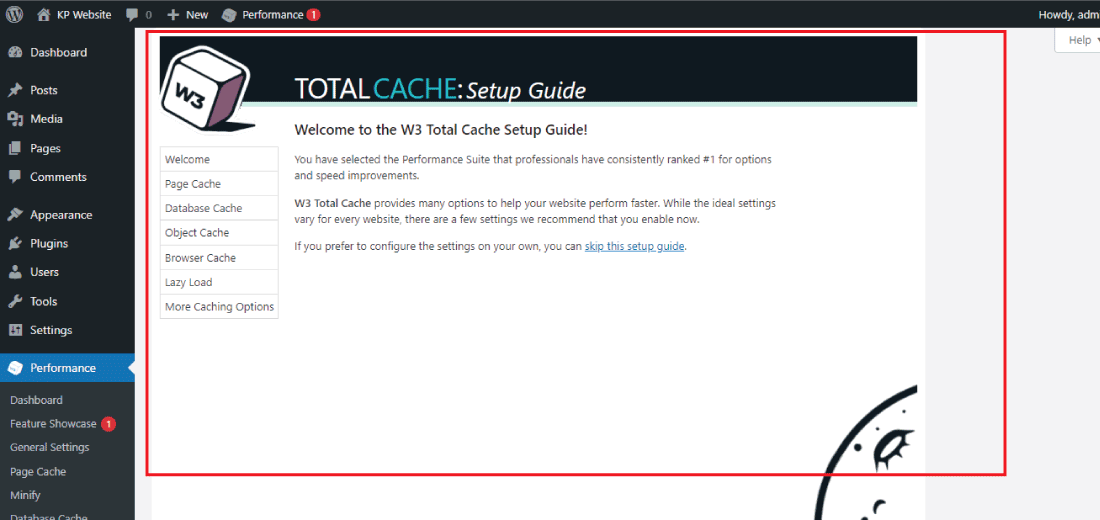
- Click on the “Performance” tab and the W3 Cache plugin setup window appears on your screen.

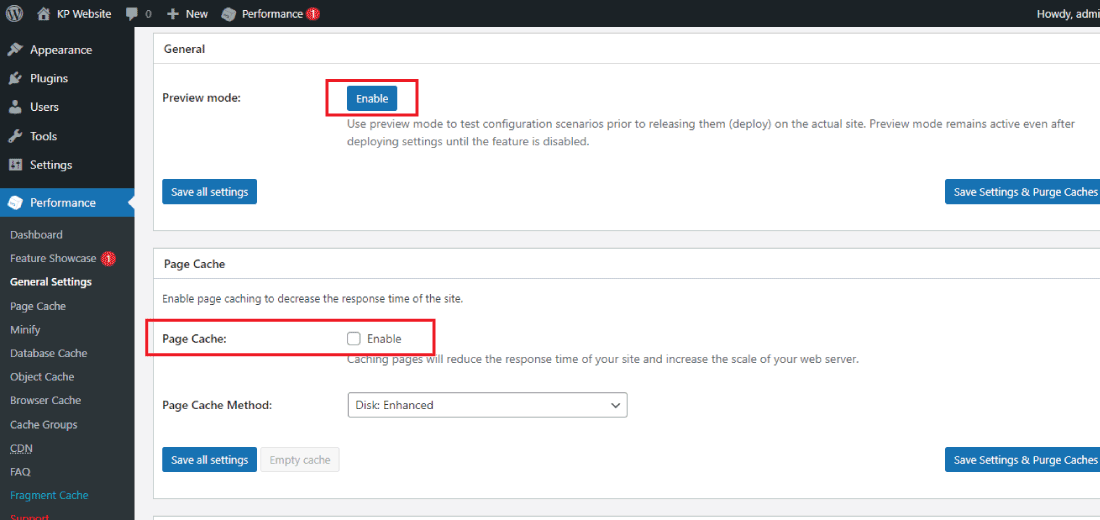
- Click on the general setting tab for setting up the cache on your website.
- Enable the cache settings to your website in the general settings. You can also enable the lazy load of your images and many more.
- After configuring all the changes to the W3 Cache plugin. Now click on the “Save all settings” button to make all the changes save successfully. This is how you can configure the cache settings for your WordPress website. Now, after setting all the changes make sure to check it on your website. To ensure that everything is working properly.Use a speed testing tool such as GTmetrix or Pingdom to check the load time of your website before and after installing the W3 Total Cache plugin.
Want to learn about the best WordPress speed plugin then read this post: WordPress Speed Optimization: 5 Best Plugins Compared (We Use These)

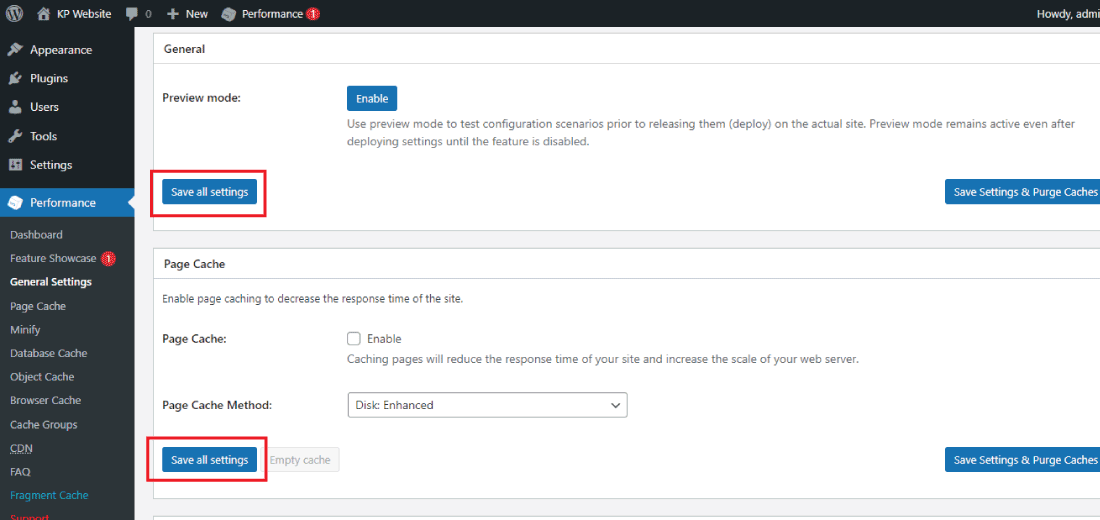 This is how you can configure the cache settings for your WordPress website. Now, after setting all the changes make sure to check it on your website. To ensure that everything is working properly.Use a speed testing tool such as GTmetrix or Pingdom to check the load time of your website before and after installing the W3 Total Cache plugin.
Conclusion
W3 Total Cache is an excellent plugin for speeding up your website.
By following the steps mentioned above, you can easily install and set up the W3 Total Cache plugin.
Remember to test your website’s performance before and after installing the plugin to see the difference.
With a fast-loading website, you can improve user experience and boost your website’s search engine rankings.
I hope you find this article helpful in solving your problem. And provide you the value in improving your WordPress knowledge.
